Entering Import File Issues
You can import a bulk list of transactions you know your company will complete.
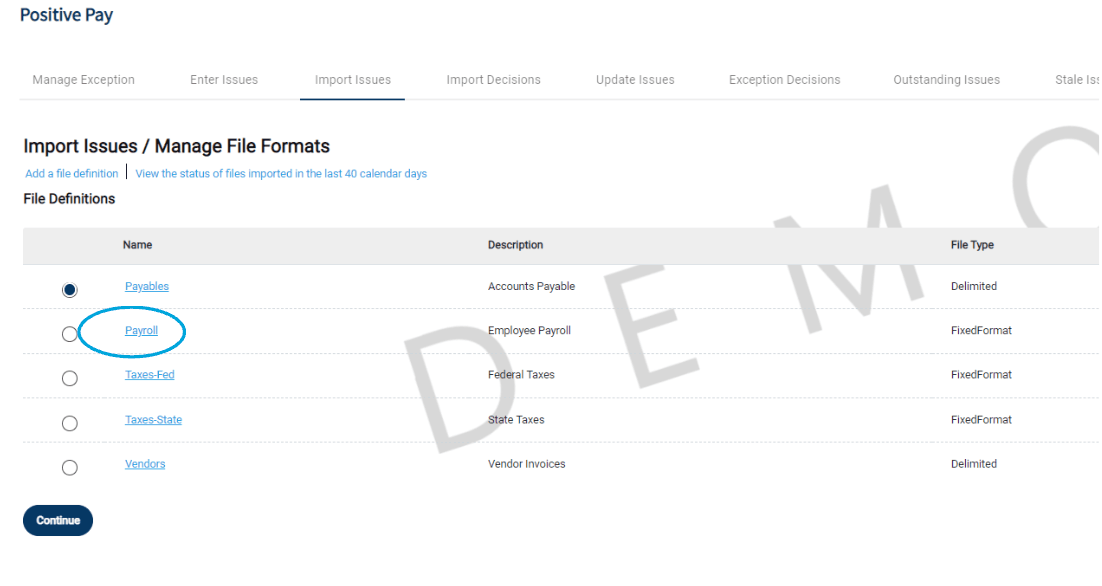
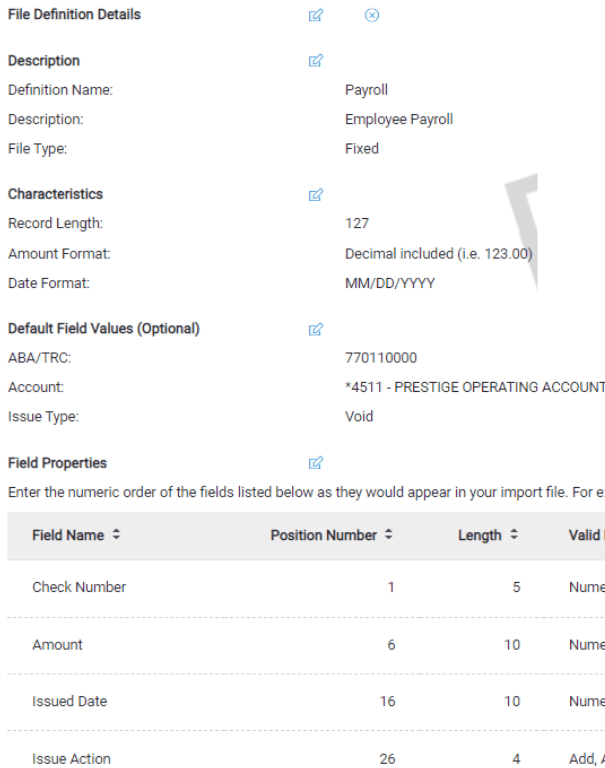
Click each item in the "name" field for File Definition Details and to learn more about the acceptable formatting.
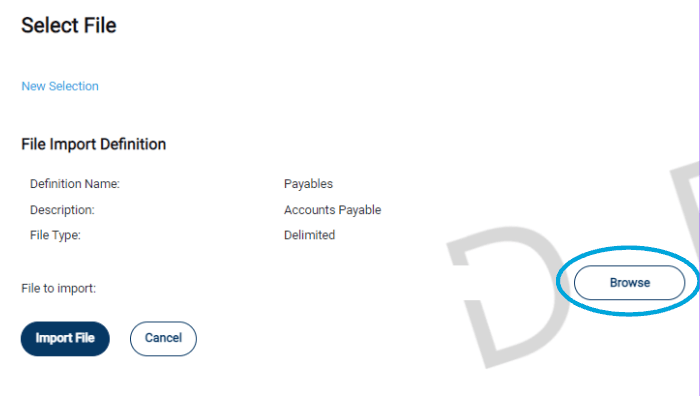
Select the file you would like to import into the system. Select the 'Browse' button to sift through the files to find the appropriate one.
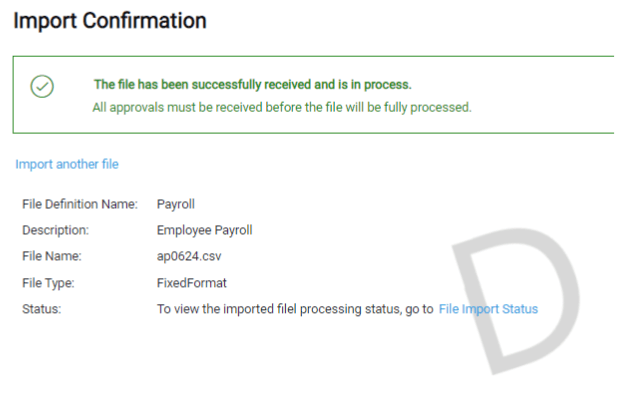
Once you are sure you attached the correct file, you can select 'Import File'. You should now see an Import Confirmation.
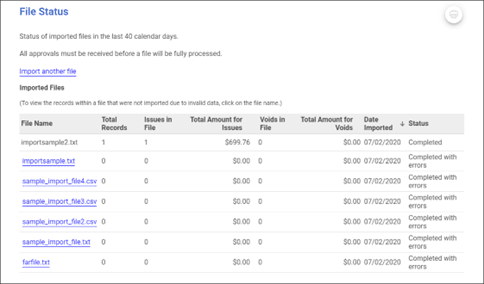
Company users can view the status of check issue files that were imported in the last 40 calendar days to determine if the import was successful.
Click Account Services > Positive Pay > Import Issues.
Click the View the status of files imported in the last 40 calendar days link.
Optional: If available, click the link in the File Name column to view the file details.
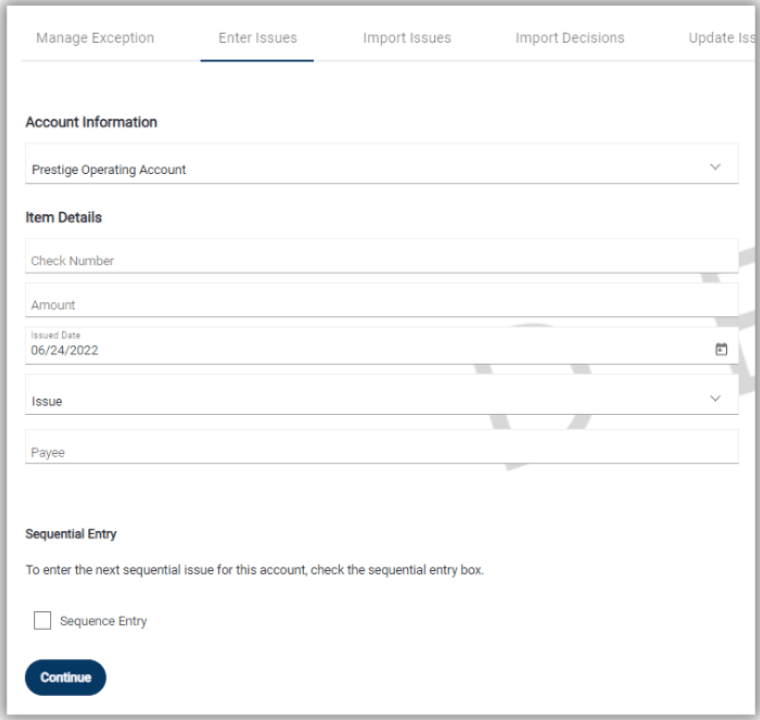
You may choose to add single issues manually. This is helpful after you've already done a bulk import and only need to add a few more issues.
Entering issues is what reduces the workload of approving exceptions.
Click Account Services > Positive Pay > Enter Issues.
After you have filled out the information, you can click 'Continue'.
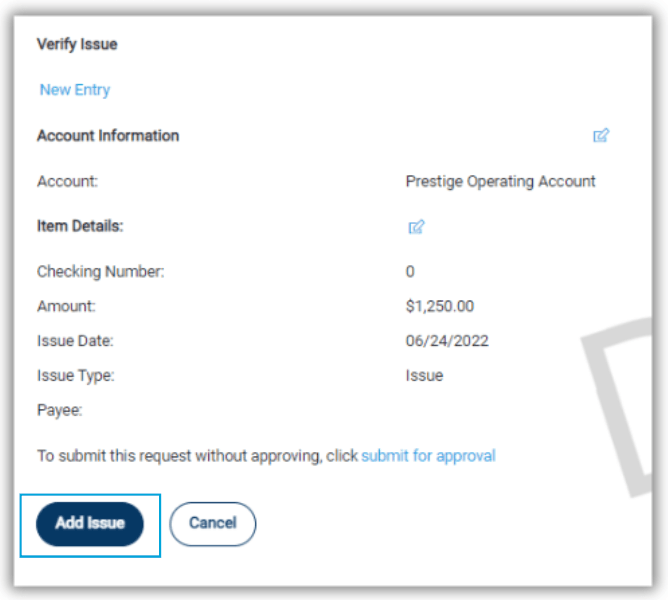
Once you have verified all of the information you have just input, you can click 'Add Issue'.
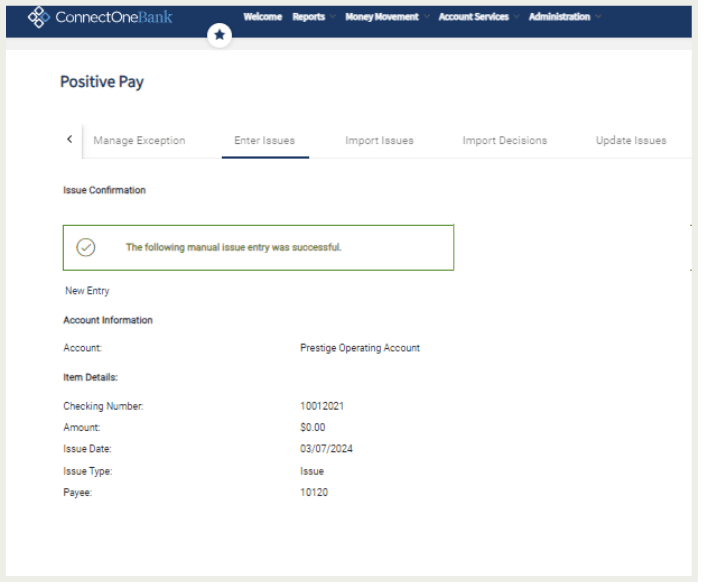
If completed correctly, you should receive an issue confirmation, similar to as seen below.